Full Makerbot #280 Photo Album
This page is about my experience building and operating a Cupcake CNC from Makerbot Industries. It is a small open-source 3D printer able to print using ABS, HDPE or PLA (for now) plastic wire.
I got the deluxe kit in December 2009 from KD85. KD85 is well known in the European OpenBSD community and by people interested in buying hackable hardware like soekris boxen and OpenMoko phones.
The one I got is number 280.
Please note: this page won't be updated regularly! This is not a blog!
Building it
The construction itself was pretty straightforward thanks to the documentation on the wiki.
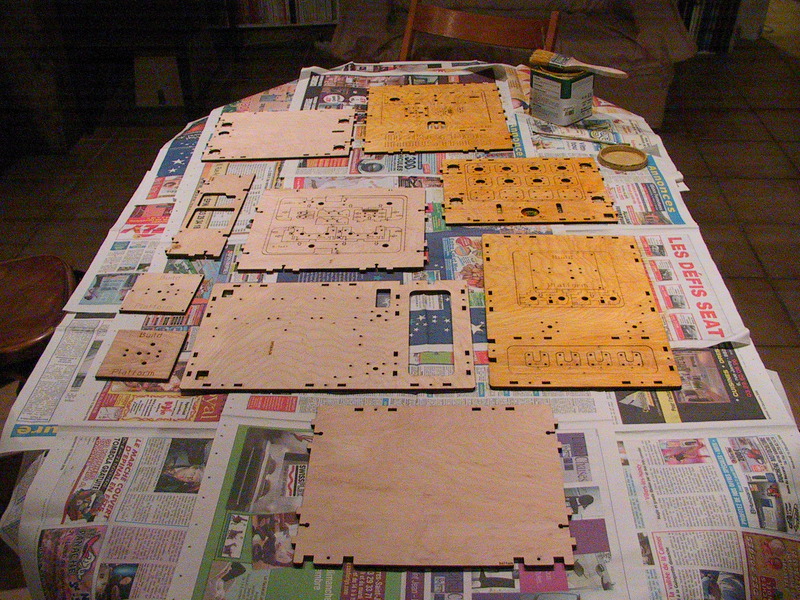
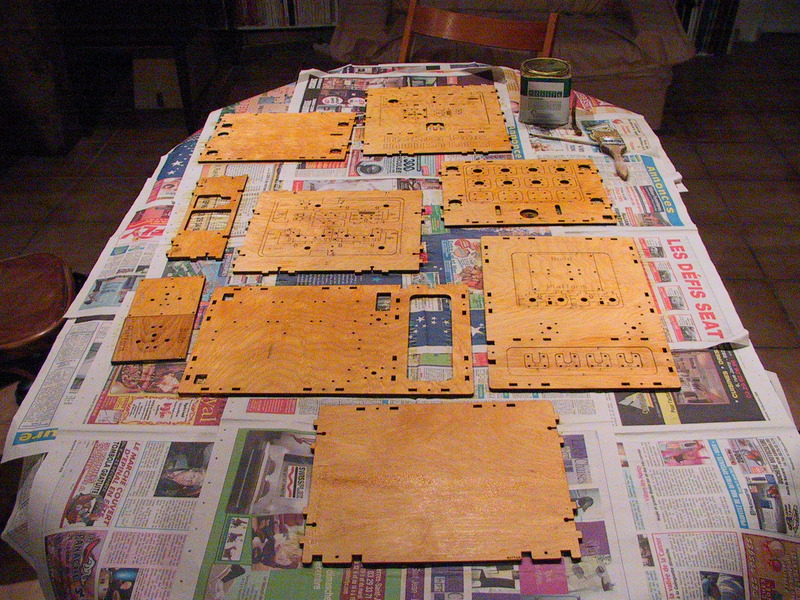
The first step was to varnish the wood. I used a light oak varnish I had.
During the construction, I somehow forgot to take pictures of each step. :-( Here is nevertheless one of the frame without neither extruder nor electronics~:
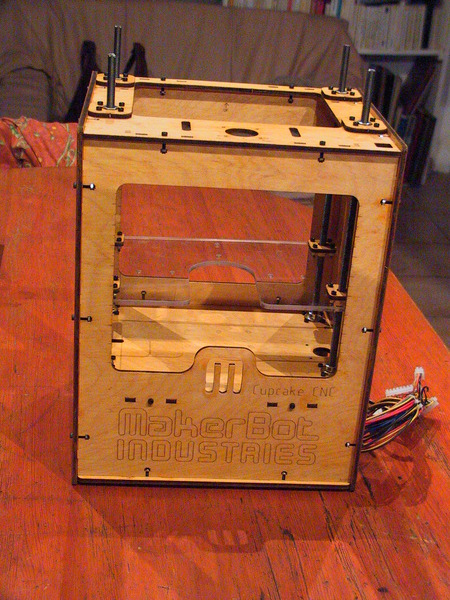
And here is the "finished" beast:
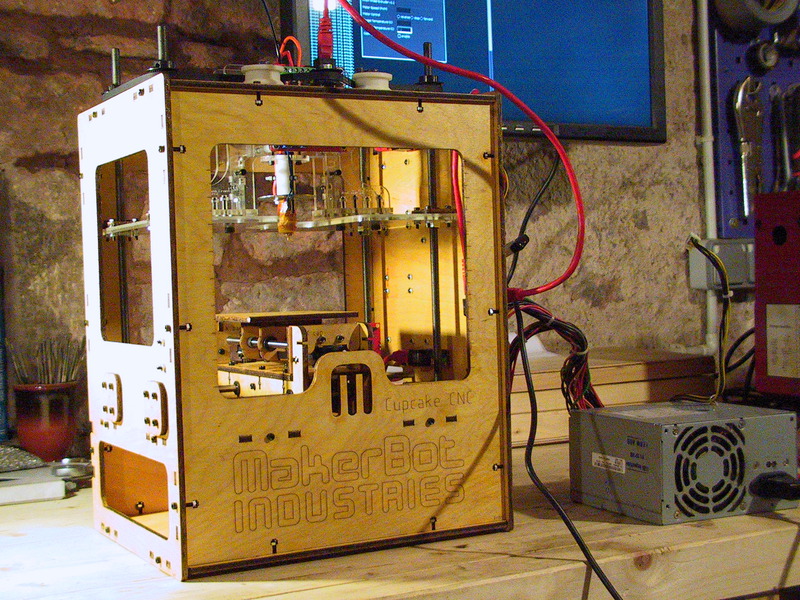
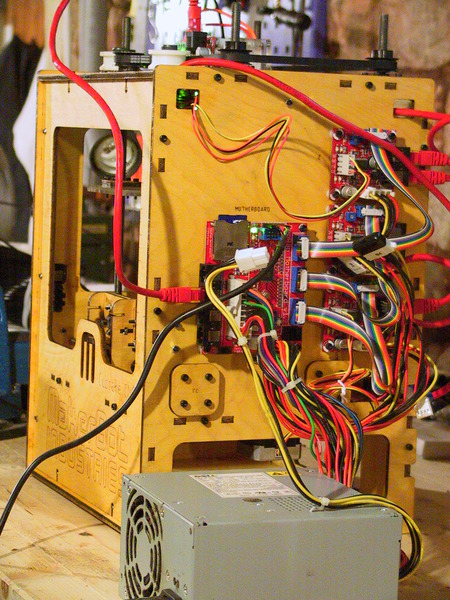
You may notice the PSU is outside: the one I got in my kit was not working and I had not received the new one then. The one pictured is an old PSU from a Dell Poweredge; While it is working, it is not compatible with the wood plate. (Warning if you have the same problem: some old Dell computers have ATX-like PSU that are not ATX. The wires to the mainboard connector should be different than for real ATX PSUs, so verify the colors of the wires before plugging it! Here are the ATX colors.).
First prints and troubleshooting
Warped threaded rod
One of the M8 thread rods was not straight. Following it's position, the top belt was either too taut or loose, so I decided to replace the rod.Raft (not) sticking
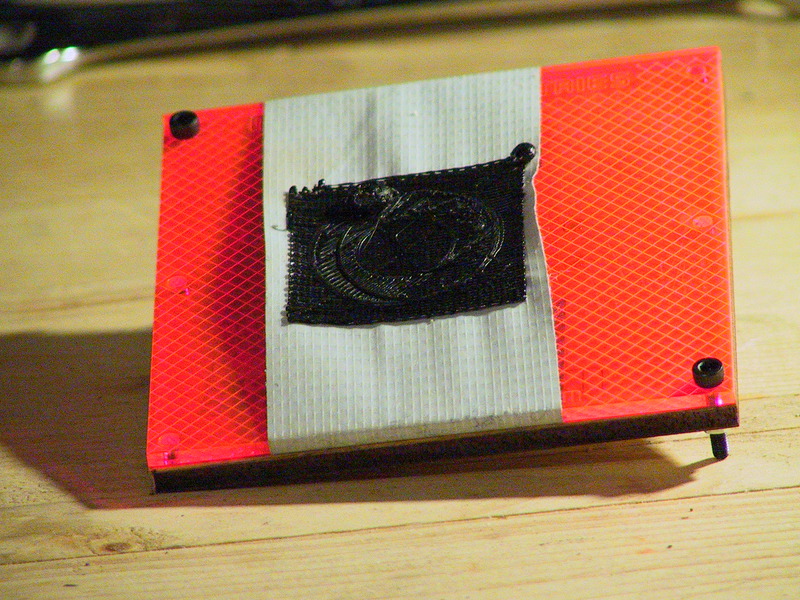
On the first tests, there was a problem with the raft not sticking to the build platform or sticking only on one side.
I tried a few ideas of mine (e.g. duct tape sticky face up and pinched between the acrylic and the wood parts of the build platform) or suggested on the web by others (double-face tape).
While inexpensive, the duct tape is hard to tighten sufficiently. It then warps when the plastic molten plastic hardens.
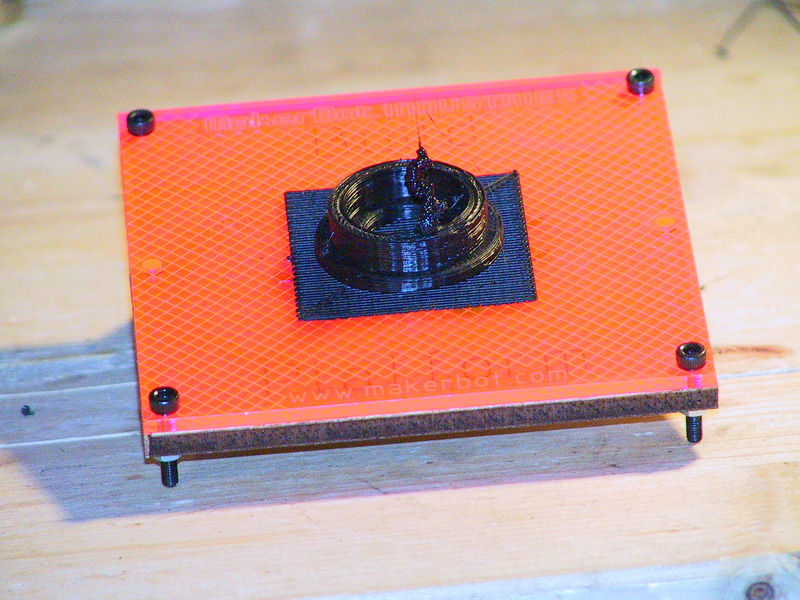
Double-face tapes is a lot more expensive. The results are good, but it seems a layer of it can be used only for a few builds before being in too bad shape to be useful.
It seems it is possible to get a good grip on the acrylic platform simply by ensuring the extrusion nozzle is very near it (less than half a millimeter) during the first pass of the raft. Beware however: if the nozzle is too near, it can be hard to remove the raft afterwards!
The "sticking only on one side" issue was solved simply by ensuring the plastruder was really level.
Random pauses/halts
I replaced the provided "Ethernet" cable (reminder: while the cable is an Ethernet one, it is a RS-485 link) between the motherboard and the extruder board by a shielded one. While there is less pauses, the problem is still here~:
Then I connected the shielding of the cable to the ground by soldering a wire to the shielding and connecting its other end to a black wire on one of the unused connectors of the PSU. On the next print, the crash occurred later, but still occurred:
At last, I noticed there is another "R1" emplacement near the RJ-45 connector on the extruder board. The one I previously took for R1 (between the serial connector and the 6-pins blue HE10 connector) and that was populated is probably a R1x, the last digit being hidden by the HE10 connector. I soldered a 180 ohms resistor in R1, and the print finished successfully!
[PHOTO of the resistor -- coming soon] 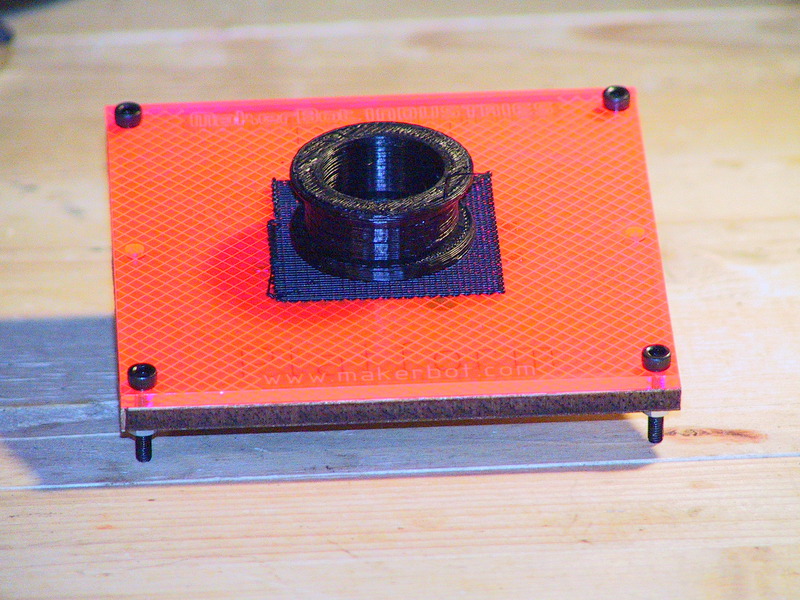
As you can see, it's a SMD board but it is still perfectly possible to solder an "old" resistor there when you don't have a SMD one.
After a few more tests, the problem of the random crashes seem to be really gone. While there still are some issues, the Makerbot is usable!
However there still are random pauses (half a second?) sometimes. To prevent this, I started to implement nophead's suggestion by soldering 1nF capacitors on the extruder motor. Notice they can be put under the plastic cover:
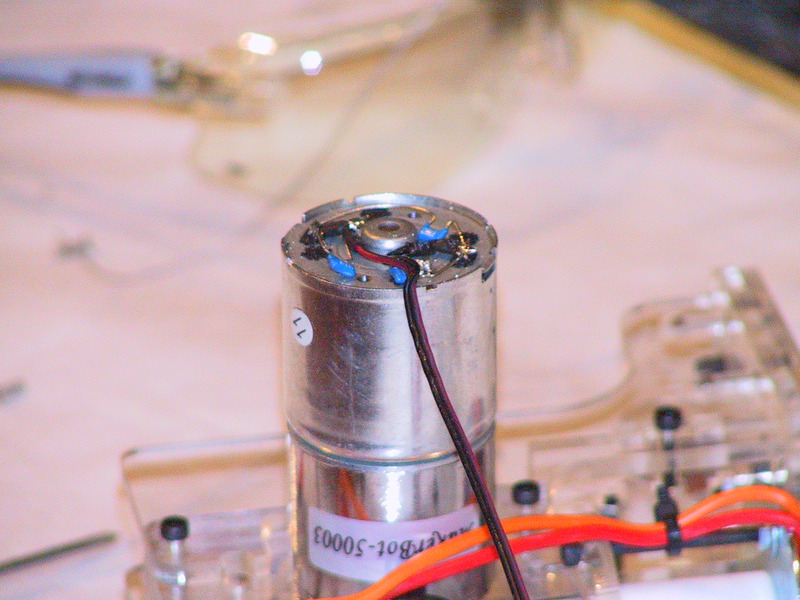
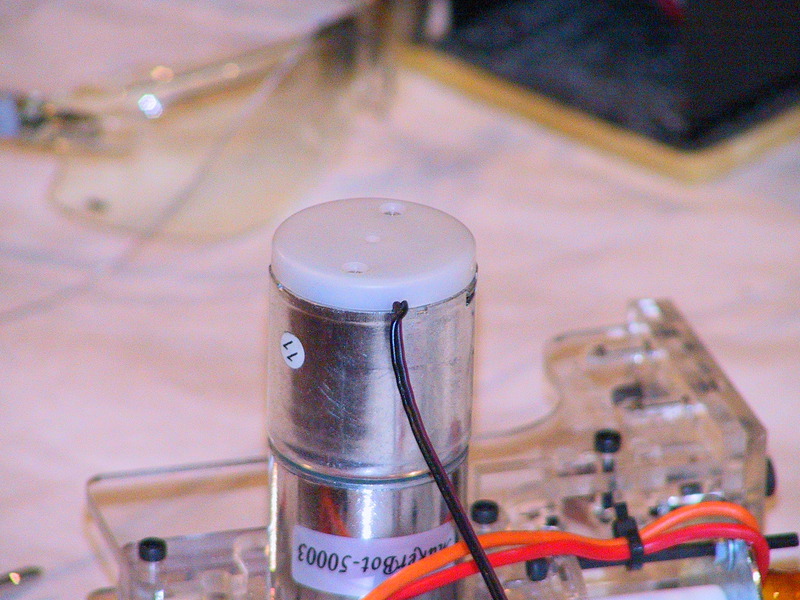
This was definitely an improvement. There are fewer pauses. Maybe only a fourth or a third.
Next planned steps:
- Second half for nophead's suggestion -- no sure I have adequate ferrite beads however.
- Temperature: I [probably] have the 1mm thermistor as my results appears to be more consistent when editing the files to use a higher temperature. Will see if updating the extruder firmware with another conversion table helps.